Archive for November, 2013


A Large Lodgepole Pine

The subject of today’s post, ‘A large Lodgepole Pine’ came from the same source as the tree from a post I did here a couple of weeks back titled ‘Indian Summer’. It was collected in the southern Oregon Cascade mountains, near the Crater Lake area, I was told. The tree was balled and burlapped and heeled into a growing field for an undisclosed period of time. It was a strapping specimen when I first spied it and the trunk was barely visible there was so much dense foliage. The owner of this tree and many others is named Sergio and he and his helper will dig the tree out for you. When I decided to buy it, the digging began and it revealed a whopping rootball contained in fairly well preserved burlap. Sergio picked it up and carried it to the car…it looked so easy. When I got it home, it was all that two of us could do to wrestle this monster out of the car and into the garden! It was in a very heavy clay-type soil I immediately set out to get rid of. It’s important to note right here that the date was early March and the opportune time to repot this species of pine. I had a urethane foam replica of a wooden whiskey barrel I purchased on close-out from a Super K-Mart down the road. It’s 21″ in diameter and nice and deep. The challenge was reducing the rootball enough to fit comfortably in the pot. I used 100% pumice as I do with all my collected trees or trees I put in grow boxes or barrels, in this case 😉 The buds were beginning to swell when I acquired the tree and they never skipped a beat in spite of removing a large percent of the heavy clay field soil the tree was in. Once I recognized the vigor of the tree, the next task was branch selection and pruning. I wish I had an earlier photo of just how thick and full this tree was at first, but I don’t. The first picture up was taken last Sunday before serious styling began and after a year of constant pruning and trying to see the direction I should take the tree:

large lodgepole  before


Sorry for the terrible background but I wanted to save my energy to style this thing not move it around to get the perfect photo. Another shot closer in:

closer


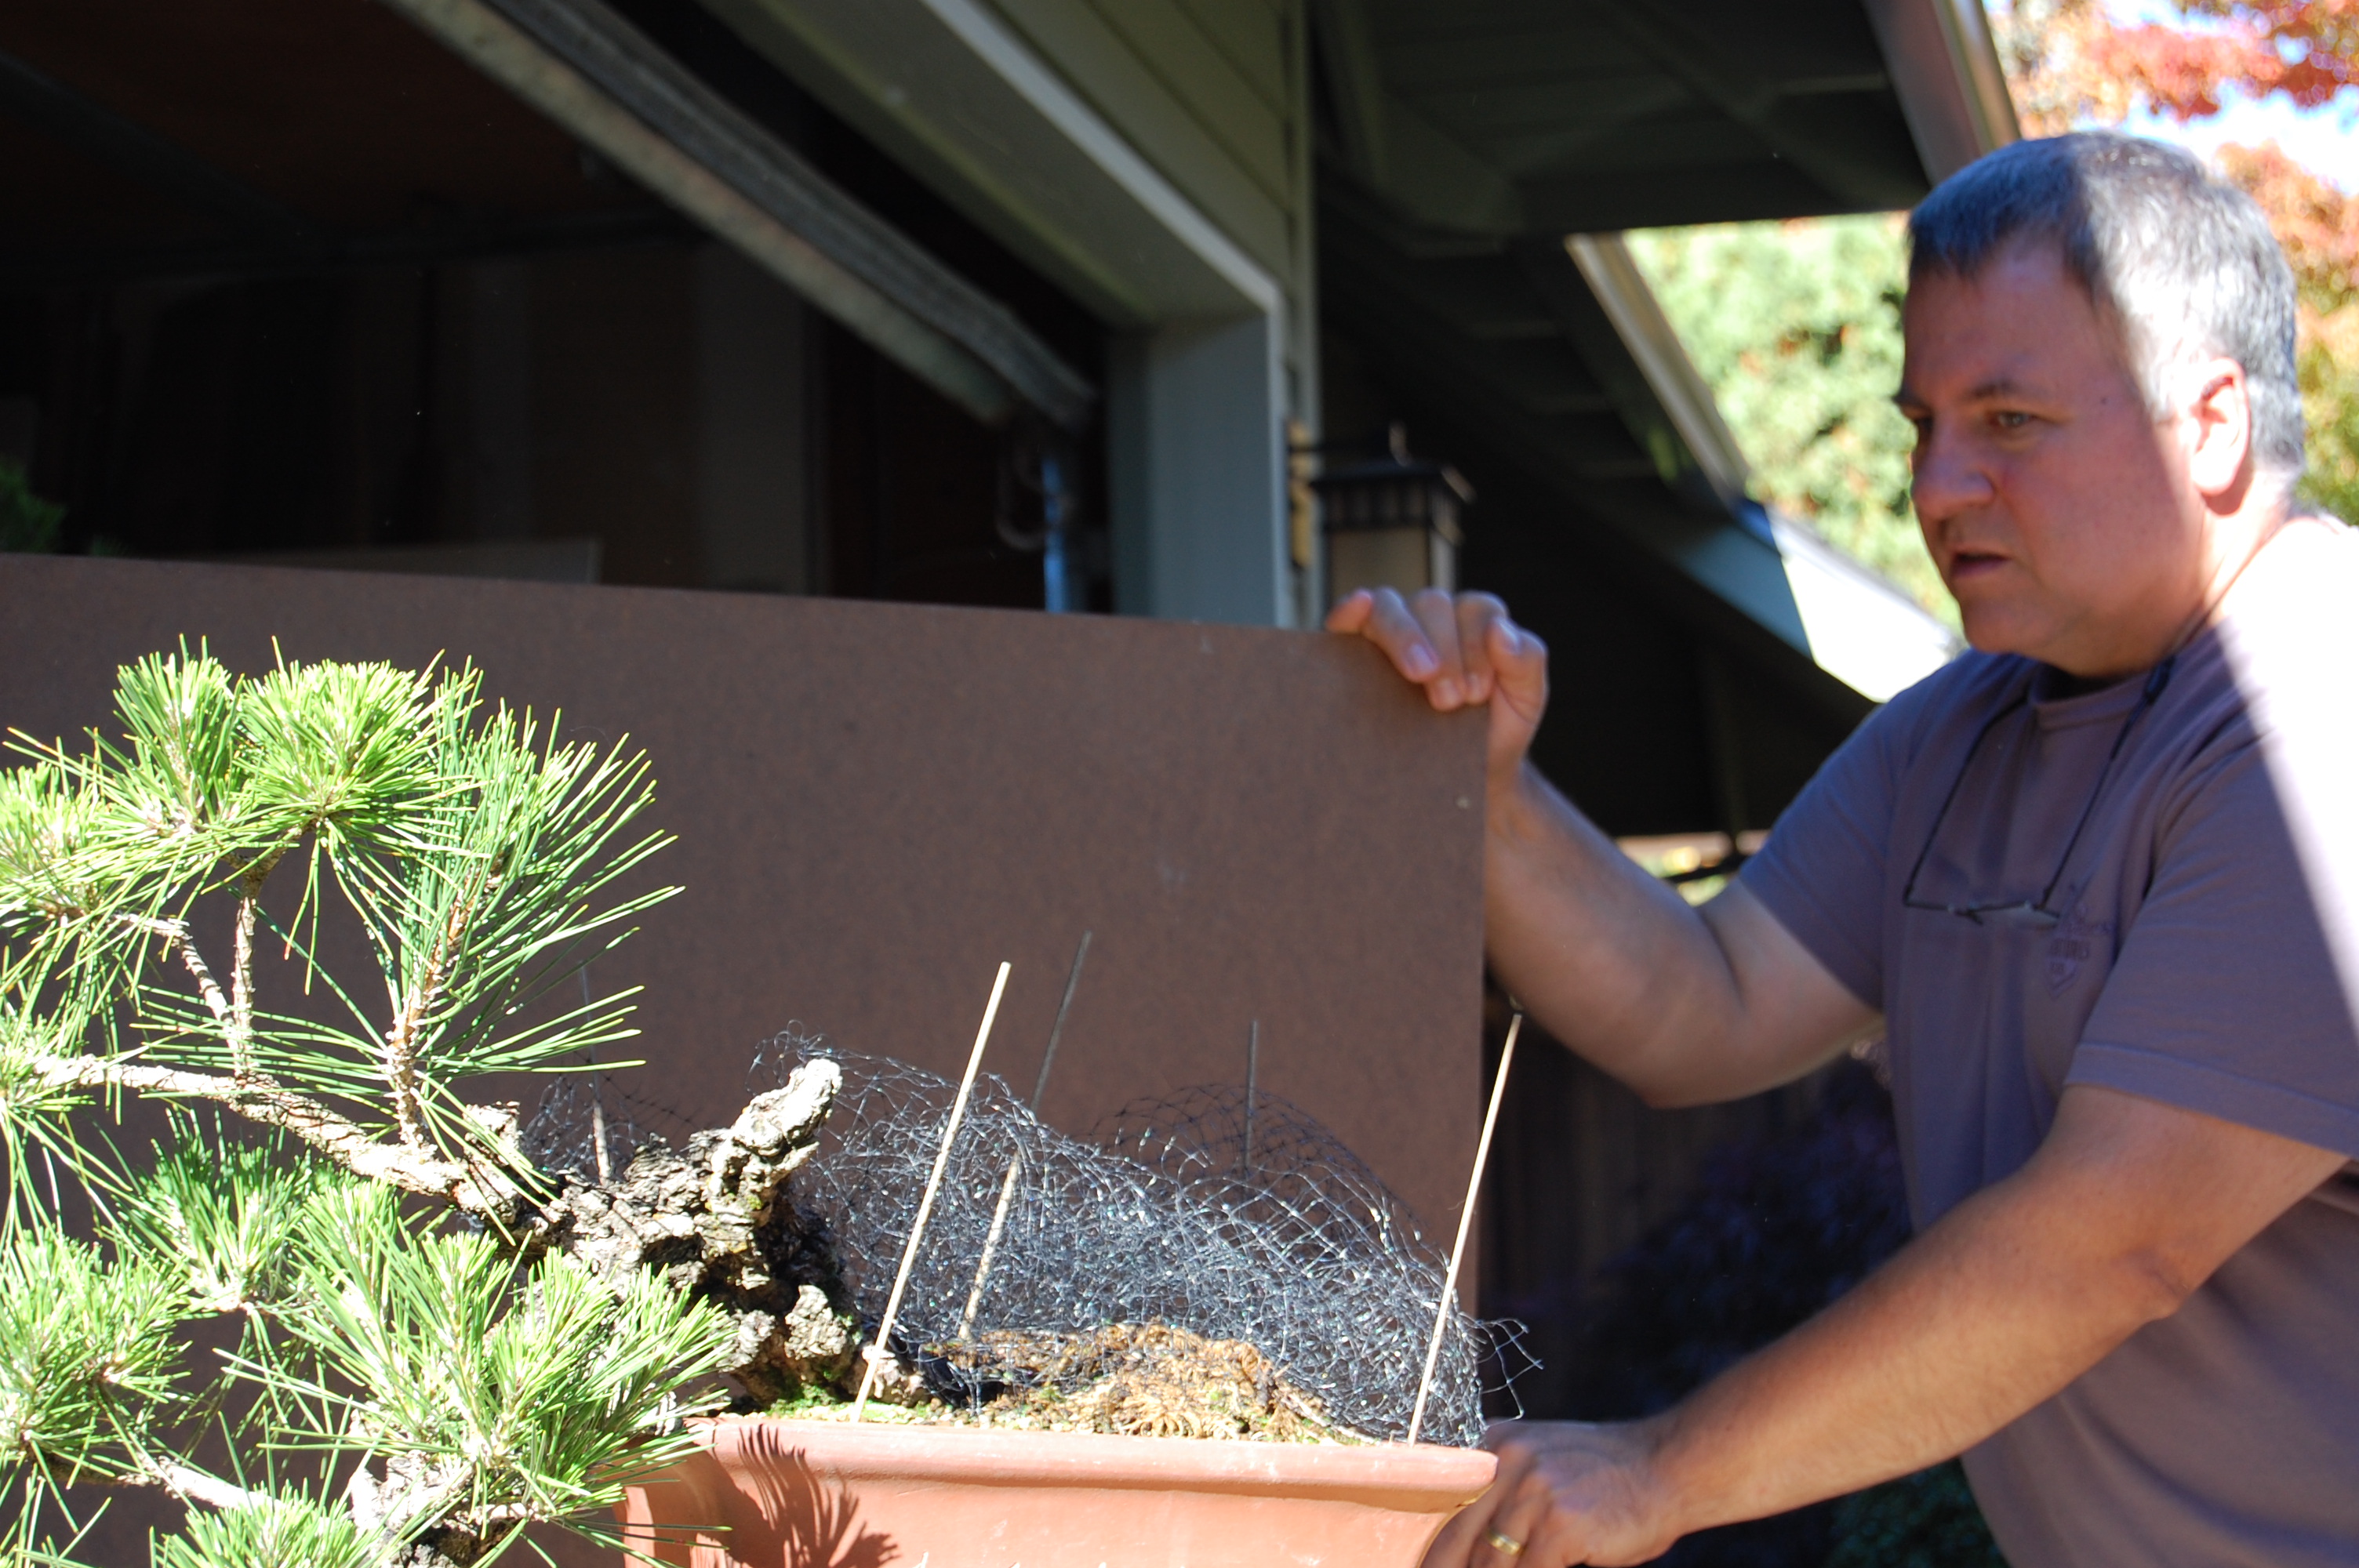
Somebody move that stuff out of the way please! I placed a vine maple I collected in with the pine and the roots had escaped the bottom of the pot and had become quite well established over the summer. I’m thinking cascade style and the Hagedorn pot to the right of it was one I’m considering for the tree…but I digress. Getting back to the subject of this post, the diameter of the tree at soil line is 4″. Those thick branches near the top are over 1″ in diameter and I tried bringing them down with some pretty substantial zip-ties you can see in this photo. I put them on sometime this summer to get an idea of how I might use those thick branches so far up the tree. My initial plan was to use everything I could as I had removed most of the branches from the tree at this point. But as I started looking closer at the tree I began wondering if I couldn’t take a little more off…

in progress


Whoa! what happened? Sorry again for the huge jump in progress here, there wasn’t anyone around to take the in-between shots. I see the junk in the foreground has been cleared away though 😉 This shot was taken late in the afternoon after most of the major branches had been wired. I can tell you that I didn’t cut all those thick branches off, instead I used some of the ones  whose diameter was appropriate for being that high up in the tree; remember we always want to have our thickest branches lower down on the tree if we can. The next morning saw a rare phenomenon for Portland in November–sunshine! I hastily grabbed my camera and took a few shots of the tree while I had this opportunity:

morning after


And a little closer:

closer...


One possibility for the front:

possible front


A little to the right, please:

a little to the right


interesting angle


It’s possible to see from this view what I did with the branches which were very long and had only a tuft or so of foliage at the tip. This view also shows some of the movement the trunk has in the upper area. I am on the lookout  for a pot for the tree now and if all goes well I will pot it up in March of 2014. Again as before, I had a little fun with one of my collected accent plants that had been in a 4″ pot in the greenhouse for a couple of years. It’s a clump of beargrass that I separated from a tree I collected years ago. I recently put it in a pot that was made by my friend Mardella Brock of Bozeman, Montana. I saw it unglazed in a scrap pile that was destined to be tossed and asked her to glaze it and fire it even though it was broken. She thought I was crazy but it turned out to be quite suitable for the purpose:

beargrass accent


A close-up of the ‘trunk’ and ‘nebari’ 😉 :

trunk and nebari


I believe I see the sun poking out from the clouds…See ya!

11-12-13!

A friend on facebook reminded me of the date today and I thought it would be a good time to put a new post up on the blog. Plus we are socked in with a steady, drizzly rain today–can’t do too much outside. So I let the trees rest and report to you the latest work. I’m going to start off with this Douglas fir, Pseudotsuga menziesii, I collected in the Oregon Cascades somewhere around 2007, late winter/early  spring. It was wired in 2008 or so and I took the wire off in 2009 then let it rest for the last  four years. It probably would have languished on its rotting bench had it not been for a recent program I attended at the last Bonsai Society of Portland meeting in October. Ryan Neil of Bonsai Mirai (there’s a link to his website on my blogroll) and Scott Elser delivered a very informative and inspiring program on–you guessed it–Doug fir bonsai.

It was just the right thing at just the right time as this tree had really filled out and was shouting out for styling. (they ‘shout’ in a language of green ;-)) I’ll show you the photo I took before work began late last month, but before that I have images of the tree from its first styling in the fall of 2008:

Doug  fir before


I planted it in the nice cedar tub in 100% pumice of large particle size; interesting to note that I fertilized it with horse manure which was free for the taking. I’d also heard it makes excellent fertilizer as it’s fairly mild and can be used almost right out of the animal…what did I learn? The horses were fed clover hay and I had a difficult time eliminating the clover from the pot as the years rolled by 😉 Now I use Portland Rose Society organic fertilizer with mycorrhizae and no more clover! You can see from the photo that this was not a very old tree but it had a nice root base, some natural movement in the slant to the right and the top of the tree had been broken somehow which was the cause for its rather small stature–a towering 15″ tall with a trunk diameter of 3″ at the base. I guess this is what caught my eye and spoke to me that it might be a tree of interest later on. Next is a closer shot of the trunk and rootage; notice how smooth and young looking the bark is? I’m not an expert on Doug fir, but I know it takes several decades for most conifers to show the rough, cracked bark that indicates the kind of age we like to see in our bonsai. I would probably pass on this tree if I saw it while I was out collecting today. But the point of my post today is to apply the techniques you learn from a program like Ryan and Scott’s as soon as you can, even if you don’t have stunning material. It might be stunning someday since it got off to a good start in the first place!

Doug fir trunk


Another shot looking down in from above. Sorry for the blurry photo, but you can see some of the branches and the broken top, which is already weathered and gray…maybe  this tree is older than I think?

Doug fir apex


And a shot after the first wiring:

Doug fir first styling


That first branch is a long one! Let’s fast forward five years to late last month for a before shot of this tree prior to its second styling:

Doug fir 2013


Two things hit me about this photo in contrast to the earlier one: The way the tree has filled out and how robust it is and how the cedar tub is rotting. The Universe is telling me, ‘find a pot for this tree soon!’ One more shot a little closer:

Doug  fir closer


Can you guess what comes next? You got it, let’s cut off some of those branches so we can see the trunk!

Doug fir after pruning


And the pile of branches that were removed:

Doug  fir branches


That’s was a mound about three feet in diameter and while it looks like a lot, trust me there were plenty of branches left for me to work with! It’s time to share a little bit about this species that Ryan shared with us in that Doug fir trees are among the tallest of our native conifers and that prior to the logging of most of the old growth trees, there were specimens taller than the redwoods…and why mention this? Because when we keep them as bonsai, they want to become tall too and in order to do so, their lower branches weaken and tend to die in favor of keeping those top few branches so it can get taller. But we have other plans for  them 😉 I had to keep this in mind as I pruned the tree, going lightly on the lower branches and being more aggressive as I went up the tree. And since the tree was in such a fine state of health, I felt confident in taking close to fifty percent of its foliage off. Even then, there was a lot of green to work with and it was getting dark when I took this next photo with only the first two branches ‘roughed in’ or wired only for position:

Doug  fir wiring


One thing to note in this photo is the trunk and the bark especially–do you see it beginning to change in texture from smooth to a rough gray? And there are also little cracks and fissures starting to form as well. That’s what happened in five years container grown. I’m sure all that foliage played a part in its more mature appearance.

My Seattle trip came up soon after I started this tree, so it had to sit a while before I got back to it. The next picture up is of it all done for now. I’m sorry I don’t have any steps in between just know that once the main branches were wired and set in place that what followed was the wiring of the finer branches to make flat foliage pads. You can see the contrast in the photo above of a branch wired out–the first one on the right and the next branch up on the left, that is only partially finished. We make the foliage pads flat like this to maximize the branches’ exposure to sunlight, thereby improving the tree’s ability to feed itself. Remember, they feed themselves through photosynthesis. We make a big mistake in thinking fertilizer is what feeds plants–this is only partially true. Fertilizer provides the building blocks for growth while sunlight provides the energy to convert those blocks into the plants and trees on the planet. Just imagine how much easier our lives would be if we could master this trick of feeding ourselves!

Doug  fir second styling complete


Closer:

Doug fir


A slight turn clockwise to the right:

slight  turn right

Oops! Sorry for the repetition, here we go:

slight right


That’s the way I left it for now–most of the branches appear too long but I will work on shortening them over the next growing season by allowing next year’s growth to extend and cutting it back when the new shoots start to harden off in May or June. And I’d like to leave you with something a little unusual that is blooming now:

cactus accent


A cheery little outfit, wouldn’t you say?

Alaska Yellow-Cedar II

Another post you say? And another  Alaska Yellow-Cedar? AKA Chamaecyparis nootkatensis? None other than 😉 Why would I quit after just one? And It wasn’t mine, after all. So while I in Seattle, I took a little trip to Bremerton to visit Dan Robinson, owner and curator of Elandan Gardens. I wanted to see if he had any more of these available and was pleased to find several of them to choose from, both in size and price. I walked right past the tree I eventually wound up with and only saw it when Dan caught up with us and picked it right off the ground and said, ‘I thought this is the one you wanted’. Indeed it was. I called ahead of my visit to make sure Dan would be there and indicated I was in the market for a small AK cedar. Let’s take a look at the tree as it arrived from its Seattle origin:

AK cedar 2


It was just a year ago I brought one of these into my garden, looking a lot like this–a really sexy, muscular trunk topped by long, lanky branches with rather coarse looking foliage. I have learned from styling the first tree that with careful pruning and wiring and then cutting new shoots, that the foliage ‘problem’ can be remedied. Another shot with the tree tilted slightly to the right and my camera lens cap in there for scale:

AK cedar 2


The lens cap is 2″ in diameter, which is roughly the same as the trunk. You’ll soon see other views of the tree but this choice for the front is the one that ‘talks’ to me. When I finished my ‘before’ photos, I hoisted her up on the bench and started cleaning the trunk of old, flaky bark. In the process, I discovered a long, thick branch near the top of the tree I hadn’t planned on using for anything:

AK cedar 2


A closer  shot for you to see:

AK cedar 2


My knee-jerk reaction to such an offensive branch as this was to cut it off leaving a stub for a ‘jin’ or broken branch. And since I was going to cut it off anyway, I tested it for flexibility. If it broke or snapped, who cares? I was pleasantly surprised that it was quite limber and flexible–a good sign for the rest of the branches I planned to keep…and then, while I had it down in the lower position, a thought occurred to keep that branch as a ‘safety branch’, a kind of insurance policy in case I messed up any of the other important branches I had planned to keep! And thus it was so; I kept it and used it to anchor another branch just as thick with some six gauge copper wire. The next photo shows the tree turned around to the ‘front’ again. Can you see the offending branch any more?

AK cedar 2


It’s there, I assure you–as a ‘back branch’ being used to give the tree a greater sense of depth. You can also see the larger branches have been wired and I also pruned out the really long branches I found emerging from areas on the trunk and larger branches in clusters. If I left all the branches in these clusters, they would eventually create an unsightly bulge or thickening and ruin the taper. That’s where I had to leave it for that day, as I had to mow the lawn before our first big November storm. The next photo is from the day after, and after several hours of wiring the finer branches:

AK cedar 2


All went fairly well and I only broke one branch that actually tore more than snapped. That’s what I like about this species is its toughness and resilience. I’m hoping that by styling it in the fall as opposed to winter as I did with the first one I worked, it will get a little ‘jump’ in the sometimes long process of going from raw material to a bonsai. I will keep this one on the ground as soon as freezing weather arrives and in an area of the garden that also has protection from wind. And like the last post, I’d like to leave you with a photo of some colorful mushrooms that sprouted from the base of one of my collected Hawthorns…enjoy!

Hawthorn/mushrooms

Cork bark Black Pine Continued…

November has arrived and we are in ‘drizzle mode’ here in the Pacific Northwest. No complaints yet, as I rather like not having to water on days like this–and it’s downright cozy to park myself inside with a hot cup of coffee and write about  my  trees 😉 I promised updates on this pine, so today’s post will be about that. You can search for the original post about this tree if you are not already familiar with its story. I want to show a picture of it in its raw state, however:

cork bark pine

This photo was taken March, 2013 after I had the tree in my yard for a year, not knowing what to do with it since the previous owners had tried and failed to successfully layer off the graft (the unsightly reverse taper towards the base of the  trunk, which is plain old black pine root stock) Next photo is what I did to correct the problem:

cork bark pine

The tree recovered quickly from the change and grew very well over the summer. The top had never been trained because all prior efforts focused on layering the tree. I thought it looked healthy enough to de-candle it this year, so I called Scott Elser to see what he thought about that, as he was one of its previous owners and quite knowledgeable about the subject (his Japanese Black Pine took the prize for best conifer and best Japanese display in Rochester last year) He heartily agreed and helped me with de-candling the tree around mid-June, which was a little later than ideal for most black pines in our area, but cork bark black pine is a bit of a different animal altogether. I’m sorry I don’t have a photo of the tree just after de-candling, just imagine the above photo without most of the long, extension growth at the tips of the branches even longer. I do have a photo taken in September showing the result of de-candling for the first time:

de-candled cork bark


The technique worked like a charm and a cluster of new, smaller candles emerged at the site of every larger spring candle that was removed…and they were all removed. It didn’t hurt to fertilize the tree in August when it was obvious the new candles were growing well. I knew I couldn’t just leave it this way, so I gave Scott another call (he’s been a good sport, so far 😉 ‘Come on over’, was his reply, so I did and managed to get a before fall work photo:

fall work

Scott, holding the back drop; and the before photo:

before fall work

Compare this photo to the one from September above and it’s apparent how effective fall fertilizing can be! I don’t profess to be an expert on black pine bonsai and I assumed we were going to select two shoots per branch tip and pluck off all the old needles…almost right, except we only plucked the downward pointing older needles and left the rest on each branch. Scott has been studying with Ryan Neil (a link to his website, Bonsai Mirai, is in my blog roll) who says the old needles teach the young ones what to do. I like that! The next photo was taken just a couple of days ago as I didn’t finish the work on the tree while at Scott’s garden. It sat unfinished for over a week while I made the trip up to Seattle. I got around to getting it to a point I was able to live with and here’s the result for now:

fall work finished for now

We wound up removing a few branches not critical to the design and wired everything that was left. It looks a little spare if you compare it to last spring, but this tree has taken a big step in its journey to becoming a bonsai… nine months from raw, untrained stock to where we are now. I will place it on the ground in a spot protected from wind for the winter months, keeping an eye on it from time to time. I always like to leave you with a little eye candy for dessert…how about this?

Chris's dwarf/Viola odorata


A dwarf ginkgo, ‘Chris’s Dwarf’, from Anne Spencer with a little violet, Viola odorata, for accent. I suppose I should have placed the ginkgo on a stand for this shot but I was responding to the yellow/violet complimentary color combination…hope you’ve enjoyed it!

Skidaddle to Seattle

I really wrestled with the title for this post…skidaddle might be a word, but I think you know it means to go. And it rhymes with Seattle. So, there you go. I ran up to Seattle last weekend to deliver a tree to a client and work on another tree for the same client, visit Elandan Garden and attend a Puget Sound Bonsai Society meeting to catch a program they had featuring my friend Scott Elser. Seattle is so close to Portland and yet, so far. And I did drive there. It isn’t all that far, it’s just the traffic gets so congested once you hit Seattle. So I don’t make the trip that often but when I do it’s well worth it. And I’m happy to be back in Portland once again 😉

How about a picture of the tree I delivered?

AK yellow cedar


It’s back home in Seattle now after a tough year of being styled, re-potted and adjusting to its new life as a bonsai in a bonsai pot in just one year. It helped the raw material had a great root system and was able to take two insults in the same year. I usually take more time than this but the tree was really in need of a different pot and some regular fertilizing with organic fertilizer.

Next up is a series of photos of the initial styling I did of a Rocky Mountain juniper that was collected in Wyoming and was   showing sings of vigor telling that it could be styled. We look for long extension growth on the tips of branches indicating a robust state of health. Hopefully this can be seen in the first photo; I apologize for the lack of a good ‘before’ photo of the tree, so we have to work with what we have:

RMJ


I’ve also started cleaning up the live vein on the tree, which was very obvious and easy to find. This tree has a nice clockwise twist that will be apparent in the following photos

RMJ


More cleaning the live vein. If you look at the base of the trunk you can see the old soil level. There were no roots that high, so I removed the top 2″ of pumice to get a better sense of where the ‘front’ of the tree should be. There was also moss growing right up against the deadwood which will eventually lead to rot even with a resinous tree like a Rocky Mountain juniper.

RMJ


More cleaning. I see all kinds of fancy gravers for doing this but I find my old Stanley wood chisel works just fine. I also use it for silk carving deadwood. A handy tool to have!

RMJ


A shot from the left side of the tree a little toward the back of the tree. It shows the spiral twist the live vein has in conjunction with the old part of the trunk that died long ago.

RMJ


Detail of the jin, or dead branch, located top left of the tree. This branch indicates the environment was too harsh to the left side of the tree, so it reallocated resources to the right. Might it have been the wind? Too much sun? Who knows?

RMJ


The upper part of the trunk is as big around as an adult’s middle finger  and very, very stiff! I will need to bring it down and around with some very heavy gauge wire and if left unprotected, the wire would surely mar the bark. The branch will also probably tear when I when I apply full force, so I wrap wet raffia around the branch to hold things together as I ‘put the hurt’ on that stiff old branch.

RMJ


A shot from above showing the branch all wrapped up. I used 5 strands of raffia for this…the number of strands of raffia we use depends on how stiff the branch we need to bend will be. I have used anywhere from 3 strands to 6 depending on the situation. Junipers are generally stiffer than pines, so they require more strands.

RMJ


Stiff branches require heavy gauge wire, in this case, 4 gauge copper wire. This is looking in from the right side and down in. The branch we want to bend is anchored by the thick jin on the right. I will trim off the wire that’s hanging down after the branch is positioned where I want it.

RMJ


Once the upper portion of the trunk is bent down and twisted around clockwise, I begin to wire the first branch.

RMJ


A shot of the branch with me out of the way. The branch has been placed roughly into the position I want it to be, all that is left is fine wiring.

RMJ


We took a day off to visit Elandan Gardens in Bremerton and Monday morning, it was back at it! The first branch is now wired and I continued to move out and up the trunk from there.

RMJ


Concentration…

RMJ


Ta Da! Halfway through…


A shot of the tree from the right side to see the reduction in height. This is a result of bringing the trunk down plus bringing the smaller branchlets down and in towards the trunk.

RMJ


More wiring…

RMJ


Over on the right side of tree wiring  smaller branches.

RMJ


Sorting out the apex, or crown of the tree. Also some thinning and placement of branches on the right side of the tree.

RMJ


Closer to completion…

RMJ


How she looked when done in the greenhouse. If you look closely at the base of the trunk, you can see a black arrow drawn on the box to indicate the front of the tree. Also note the blocks placed under the left side of the box to indicate the desired planting position when the time comes. The tree will be kept in the greenhouse and foliage misted twice daily as part of the aftercare from styling. If we play our cards right, we might be able to pot it this spring. Rocky Mountain junipers growing in the Northwest are potted later than all other conifers, sometimes as late as June, but the best time is May.

RMJ


Time for a little levity…don’t mess with me 😉

RMJ


A parting shot outside the greenhouse before we went off to the meeting of the Puget Sound Bonsai Society…I drove back to Portland after the meeting to arrive home at 1 a.m. tired but happy to be home safe and sound. From the sound 😉